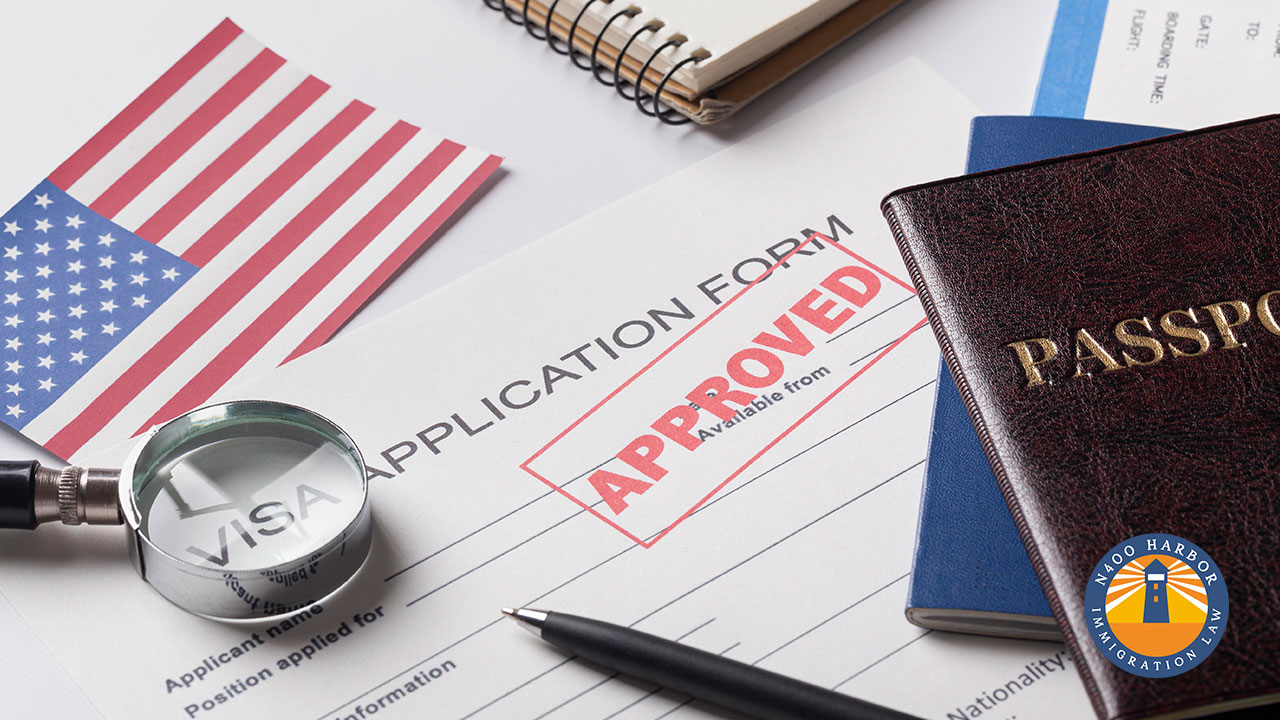
The process of applying for a US visa can be complex and overwhelming.
IN THIS ARTICLE
The US Visa Application process can be… complicated at times. From gathering the necessary documents to attending the visa interview, each step requires careful attention to detail. In this comprehensive guide, we will walk you through the US visa application process, providing you with all the information you need to navigate through the requirements and procedures successfully.
Before touching on the steps, let’s start with some basic information:
What is a U.S. Visa?
A citizen of a foreign country who seeks to enter the United States generally must first obtain a U.S. visa, which is placed in the traveler’s passport, a travel document issued by the traveler’s country of citizenship.
Pick the Right Visa
Before you can apply for a U.S. Visa, you need to pick the appropriate Visa. Nonimmigrant visas are for people who wish to go to the United States on a temporary basis for tourism, business, temporary work, study, or medical treatment. We have included a chart below that can help you identify the best Visa for you based on your travel intent.
| Purpose of Travel | Visa Category | Required: Before applying for visa* |
| Athlete, amateur or professional (competing for prize money only) | B-1 | (NA) |
| Au pair (exchange visitor) | J | SEVIS |
| Australian professional specialty | E-3 | DOL |
| Border Crossing Card: Mexico | BCC | (NA) |
| Business visitor | B-1 | (NA) |
| CNMI-only transitional worker | CW-1 | (USCIS) |
| Crewmember | D | (NA) |
| Diplomat or foreign government official | A | (NA) |
| Domestic employee or nanny – must be accompanying a foreign national employer. | B-1 | (NA) |
| Employee of a designated international organization or NATO | G1-G5, NATO | (NA) |
| Exchange visitor | J | SEVIS |
| Foreign military personnel stationed in the United States | A-2 NATO1-6 | (NA) |
| Foreign national with extraordinary ability in Sciences, Arts, Education, Business or Athletics | O | USCIS |
| Free Trade Agreement (FTA) Professional: Chile, Singapore | DOL | |
| International cultural exchange visitor | Q | USCIS |
| Intra-company transferee | L | USCIS |
| Medical treatment, visitor for | B-2 | (NA) |
| Media, journalist | I | (NA) |
| NAFTA professional worker: Mexico, Canada | TN/TD | (NA) |
| Performing athlete, artist, entertainer | P | USCIS |
| Physician | J , H-1B | SEVIS |
| Professor, scholar, teacher (exchange visitor) | J | SEVIS |
| Religious worker | R | USCIS |
| Specialty occupations in fields requiring highly specialized knowledge | H-1B | DOL then USCIS |
| Student: academic, vocational | F, M | SEVIS |
| Temporary agricultural worker | H-2A | DOL then USCIS |
| Temporary worker performing other services or labor of a temporary or seasonal nature. | H-2B | DOL then USCIS |
| Tourism, vacation, pleasure visitor | B-2 | (NA) |
| Training in a program not primarily for employment | H-3 | USCIS |
| Treaty trader/treaty investor | E | (NA) |
| Transiting the United States | C | (NA) |
| Victim of Criminal Activity | U | USCIS |
| Victim of Human Trafficking | T | USCIS |
| Nonimmigrant (V) Visa for Spouse and Children of a Lawful Permanent Resident (LPR) | V | (NA) |
This chart is better viewed on desktop screens.
What the abbreviations above mean
Before applying for a visa at a U.S. embassy or consulate, the following is required:
- DOL = The U.S. employer must obtain foreign labor certification from the U.S. Department of Labor, prior to filing a petition with USCIS.
- USCIS = U.S. Citizenship and Immigration Services (USCIS) approval of a petition or application (The required petition or application depends on the visa category you plan to apply for.)
- SEVIS = Program approval entered in the Student and Exchange Visitor Information System (SEVIS)
- (NA) = Not Applicable – Additional approval by another U.S. government agency is not required prior to applying for a visa
Important Notes:
- About this chart – It is not a complete list of all travel purposes for the visa category. Select a visa category webpage for more information. The chart lists almost all nonimmigrant visa categories, with the exception of several not listed above. Refer to the Foreign Affairs Manual, 9 FAM 402.1 for all nonimmigrant visa categories.
- Canadian NAFTA Professional workers – A visa not required; apply to U.S. Customs and Border Protection (CBP) at border port of entry.
K nonimmigrant visas – For U.S. citizen fiancé(e) and spouse for immigration related purposes. Refer to Immigrant Visa Categories.
Step 1: Get a Digital Photograph of Each Applicant
A digital photograph is a mandatory requirement when applying for a US visa. The photograph must adhere to specific guidelines to ensure its acceptance. Here are the key requirements for the digital photograph:
- The photograph must be square in shape.
- The minimum dimensions should be 600 pixels by 600 pixels.
- The maximum dimensions should be 1200 pixels by 1200 pixels.
- The image must be in color, with 24 bits per pixel.
- The file format must be JPEG (.jpg or .jpeg).
- The file size should not exceed 240 kilobytes.
It’s crucial to follow these guidelines precisely to avoid any delays or rejections in the visa application process. You can find services that specialize in providing photographs for US visas or passports.
“It’s crucial to follow these guidelines precisely to avoid any delays or rejections in the visa application process.”
Step 2: Complete US Visa Application Form DS-160
The next step in the US visa application process is to complete the online application form DS-160. The DS-160 form, also known as the Online Nonimmigrant Visa Application, is a vital step in the US visa application process.
This form is mandatory for all non-immigrant visa applicants and must be filled out accurately and truthfully. You can access the application Online Nonimmigrant Visa Application (DS-160) form here.
Once you have successfully completed the DS-160 form, you will receive a confirmation page with a unique 10-digit barcode. It is essential to print and retain this confirmation page as it will be required for scheduling your visa interview appointment.
Step 3: Pick your Closest U.S. Embassy/Consulate
The next step is to pick a U.S. Embassies, Consulates, Diplomatic Missions, and Offices Providing Consular Services to request an interview for your application. Go here: https://www.usembassy.gov/ to select your closest office.
Then follow these steps to schedule a Consular Section appointment:

- Create a user account.
- Add applicant information to complete the registration.
- Enter the DS-160 confirmation number for each applicant applying for a visa.
- Provide an address or select a location where you want to receive your documents from the Consular Section.
- Pay the nonimmigrant visa (MRV) application fee(s) using one of the payment methods available in the country where you reside.(There will be a “Visa Fees” section on your U.S. Embassy/consulate website)
Step 4: Take Appointment for Visa Interview
After completing the necessary documentation and paying the visa application fee, you need to schedule an appointment for your visa interview. The appointment can be made online through the U.S. Embassy/consulate website. It is crucial to select a convenient date and time for your interview.
Step 5: US Visa Fingerprinting at Visa Application Center (VAC)
Following the visa interview appointment, you will need to schedule a separate appointment for fingerprinting at the Visa Application Center (VAC). This appointment should be scheduled at least a day or two before your interview at the designated US consulate.
Under the new rules, biometrics information, including fingerprints, is collected at the VAC appointment to expedite applicant processing. It is essential to complete the fingerprinting appointment before attending the visa interview.
Step 6: Go for Visa Interview at Designated US Consulate
On the day of your scheduled visa interview, you will need to visit the designated US consulate. It is crucial to arrive on time and carry all the required documents and their originals. The documents you should bring include your passport (and any old passports), the DS-160 barcode page, visa application fee receipts (if applicable), visa appointment letter, and supporting documents based on the type of visa you are applying for.
It is important to be well-prepared for the interview and answer all questions honestly and confidently. The consular officer will evaluate your eligibility for the visa based on your application and supporting documents.
Additional Information: How to Expedite Your US Visa Application Process
If you are looking to expedite your US visa application process, there are a few steps you can take:
- Ensure Accurate and Complete Documentation: Double-check all your documents to ensure they are accurate, complete, and up-to-date. Any missing or incorrect information can lead to delays or rejections.
- Submit the Application Early: Submitting your application well in advance of your desired travel date can help expedite the process, allowing ample time for processing and scheduling the visa interview.
- Choose the Right Visa Category: Selecting the appropriate visa category based on your purpose of travel is crucial. This ensures that your application is processed efficiently, as each visa category has specific requirements and procedures.
- Prepare for the Interview: Thoroughly research the visa interview process and common interview questions. Practice your responses to ensure you are confident and well-prepared on the day of the interview.
These additional steps, you can increase your chances of a smooth and expedited US visa application process, and hiring a licensed Immigration Attorney to help you can further increase your chances for approval.
Common FAQs
How long does the US visa application process take?
The processing time can vary depending on various factors, including the visa category and the workload at the consulate. It is recommended to apply well in advance of your intended travel date to allow ample processing time. Please consult your Immigration Attorney for the latest application wait times.
Can someone else submit the visa application on my behalf?
Under US law, the applicant is required to electronically sign and submit their own application. However, others can assist in preparing the application as long as the applicant is the one who clicks the “Sign Application” button.
Can I expedite the visa interview appointment?
In certain cases, such as medical emergencies or urgent business travel, you may be able to request an expedited visa interview appointment. However, each consulate has its own guidelines and criteria for considering such requests.
What happens if my visa application is denied?
If your visa application is denied, the consular officer will provide you with a reason for the denial. You may have the option to reapply or appeal the decision, depending on the circumstances. At this point we urge you to consult with a licensed immigration attorney to review your case.
These are just a few of the frequently asked questions about the US visa application process. It is essential to consult with the official resources and seek legal advice if needed to ensure accurate and up-to-date information.
What’s next?
Applying for a US visa can be a complex and rigorous process. However, with the right information, proper preparation and professional assistance from an Immigration attorney, you can navigate through the requirements and procedures successfully.
This quick guide has provided you with a step-by-step overview of the US visa application process based on the latest information from the United States U.S. Department of State, Bureau of Consular Affairs, from obtaining the necessary documents to attending the visa interview.
By following these steps and staying well-informed, you can enhance your chances of a successful visa application. Remember to seek professional guidance when needed to ensure accuracy and compliance with the latest regulations. If you would like us to review your case, please contact us today. Good luck with your US visa application!

